There are 2 levels to online booking in Practice Master Pro
Practitioners will automatically gain access to their calendar online through the Notes Online website which is enabled as part of the Cloud Features in Practice Master Pro.
Step 1
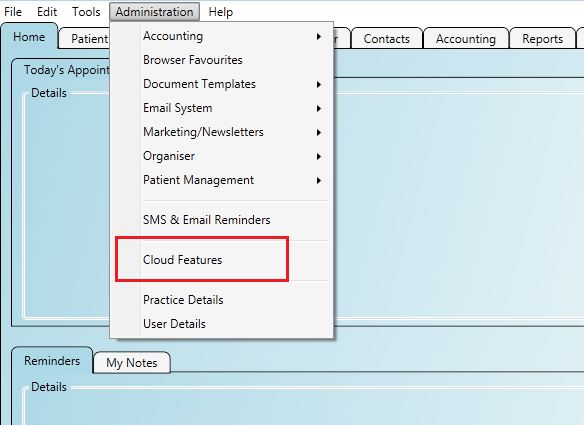
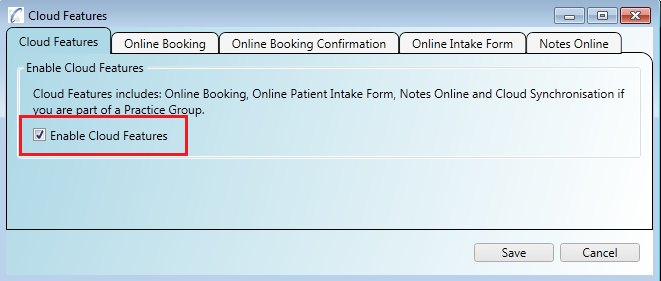
Open the administration screen 'Administration/Cloud Features' and click on the 'Enable Cloud Features' box.
Step 2
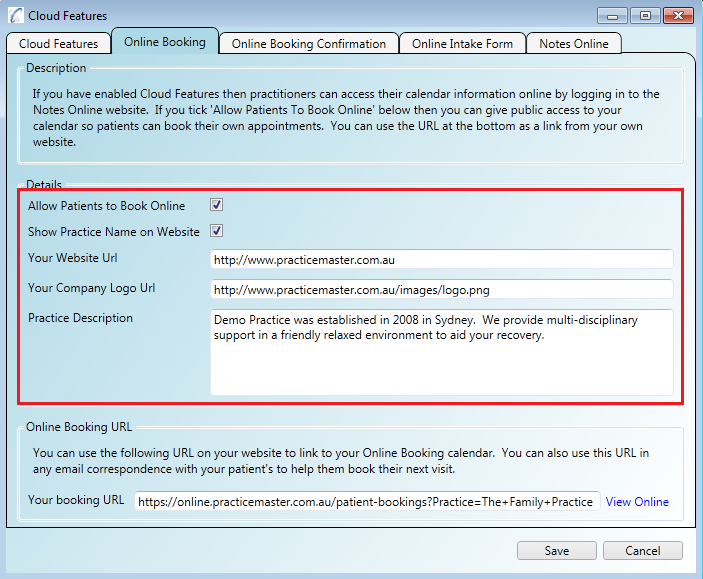
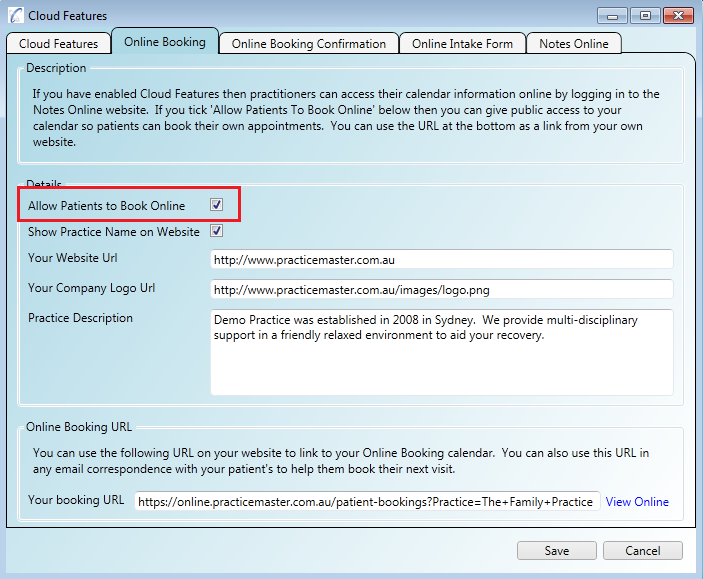
There are some options on the 'Online Booking' tab which may be useful for your practice. If you have a logo you may want to link to it so it appears on your online booking
page on the web. You may also want to display your practice name there and a description of the services you provide.
Step 3
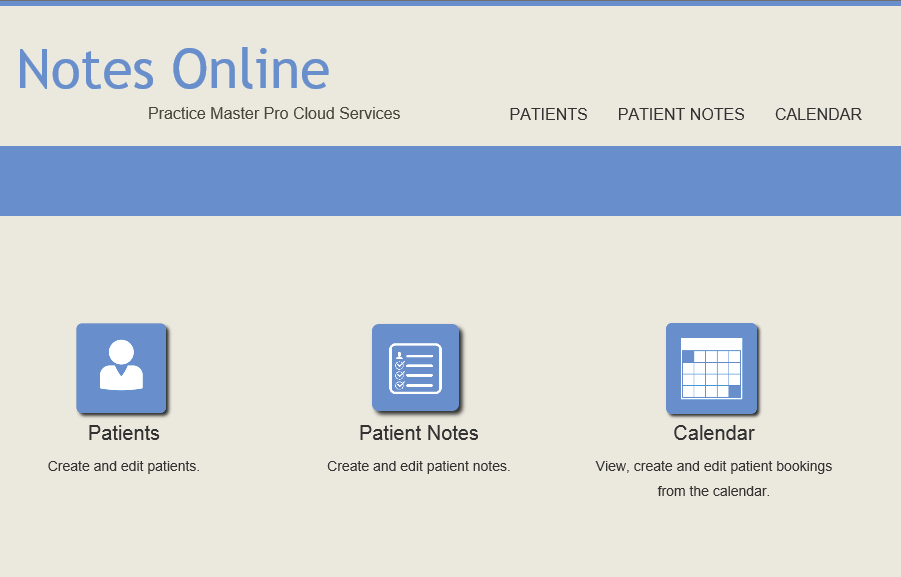
You can go to the 'Notes Online' website to log in using your normal Practice Master Pro credentials to access your calendar information online:
Australia: https://online.practicemaster.com.au
UK: https://online.practicemaster.co.uk
Step 4
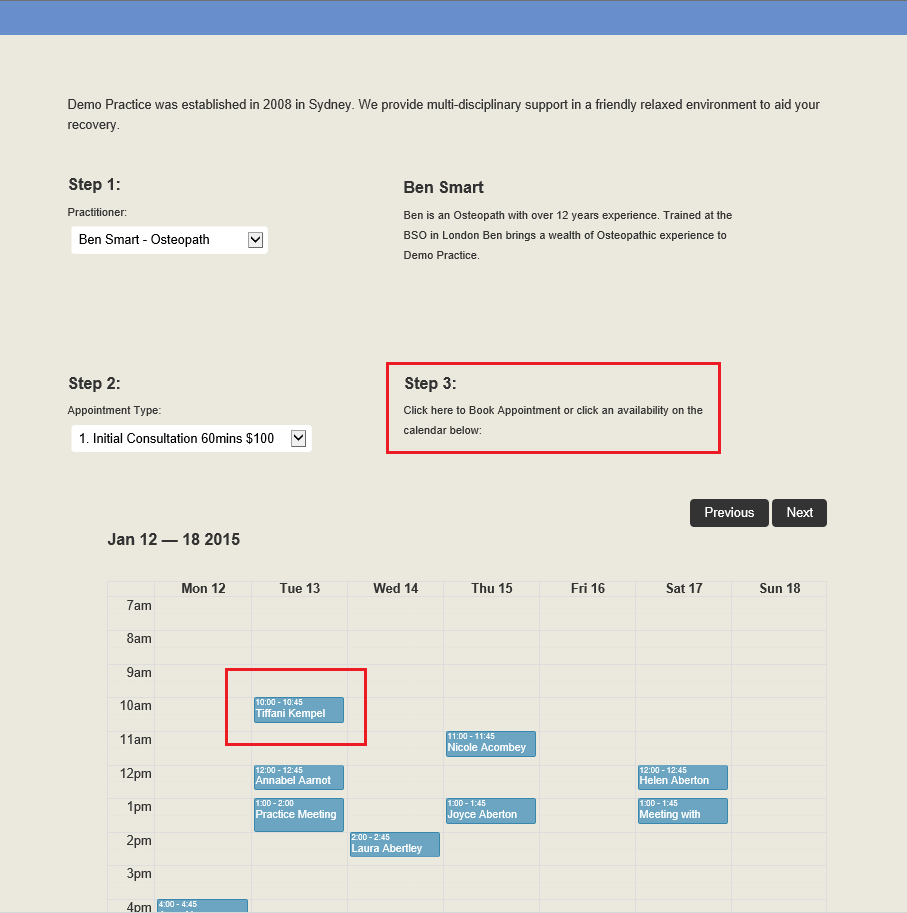
When you click through to the calendar you can see your booked visits. You can click the 'Book Appointment' link in 'Step 3' to book a
new appointment, or you can click an existing appointment to view the details or edit them.
Step 5
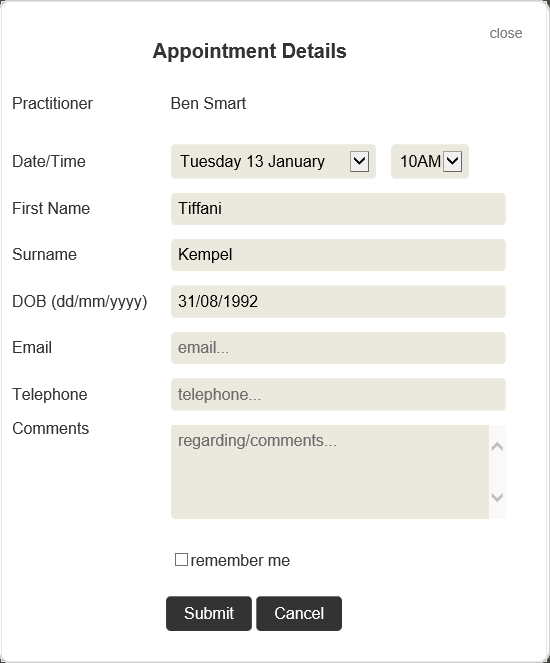
When you click an appointment (or click the 'Book Appointment' link to create a new one) you can edit the details in the 'New Appointment' window.
Step 1
Open the administration screen 'Administration/Practice Details' and click on the 'Online Booking' tab then tick the 'Allow Patients To Book Online' box.
Step 2
You can link to the online patient booking page from your own website if you wish using the 'Online Booking URL'. You can also click on the 'View Online'
link to view the online patient calendar if you wish.

Step 3
When patients go to book online they will visit the public calendar. This view of the calendar shows them availabilities which they can click on
to book.
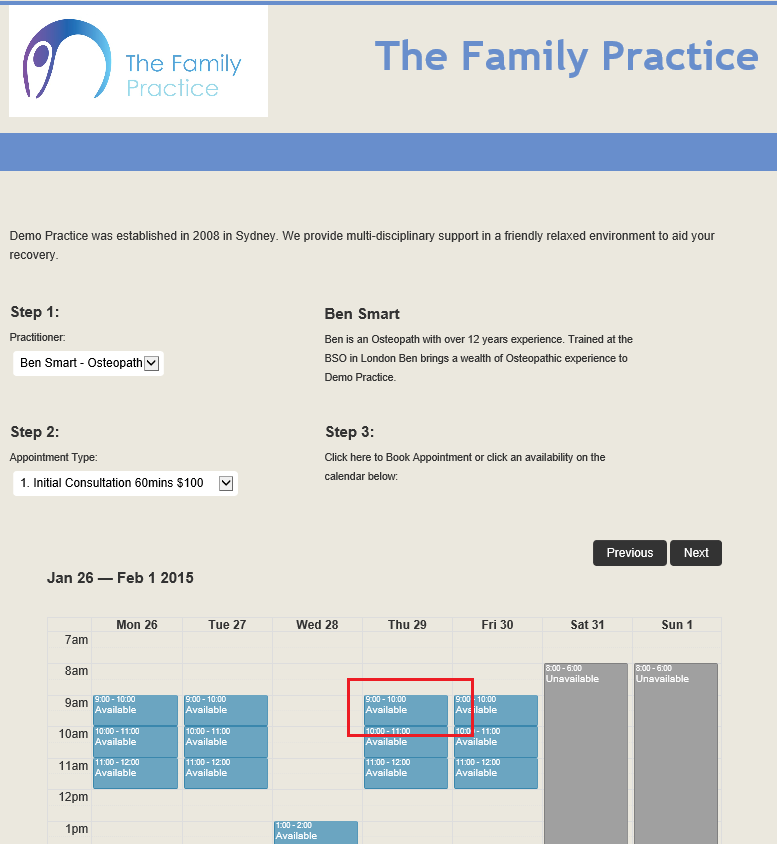
You can customise the appearance of the calendar for your patients. You can do the following:
Step 1
Open the administration menu and click 'Administration/User Details', double click the user in the list you want to customise.
If you are a practitioner and you want patients to be able to book appointments with you online then click on the 'Online Details' tab then
tick the box 'Allow Patients To Book Online With Me'. Then your name will appear in the 'Step 1. Practitioner' list for the patient
to select from in the online booking web page.
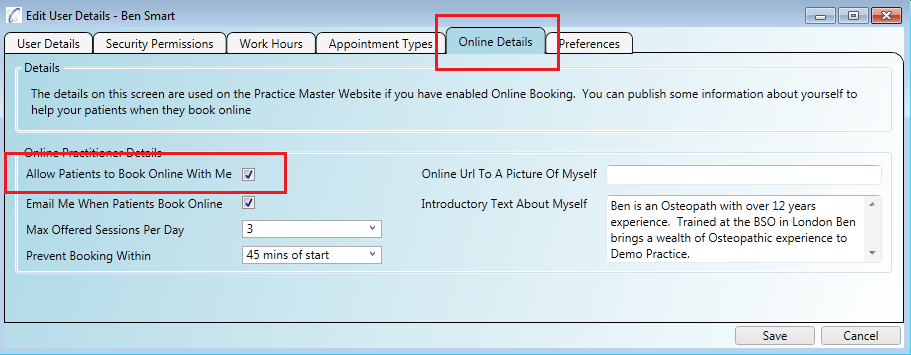
The screen above lets you modify the following settings too:
Step 2
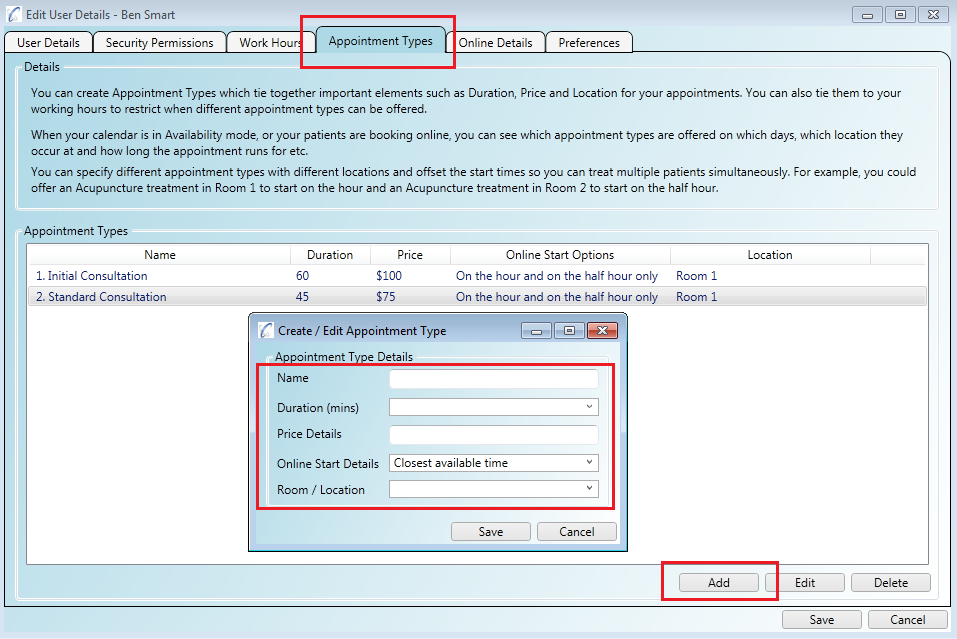
On the 'Appointment Types' tab click the 'Add' button to add your own appointment types. The information you
add here will appear in the 'Step 2. Appointment Type' list for the patient to select from in the online booking web page.
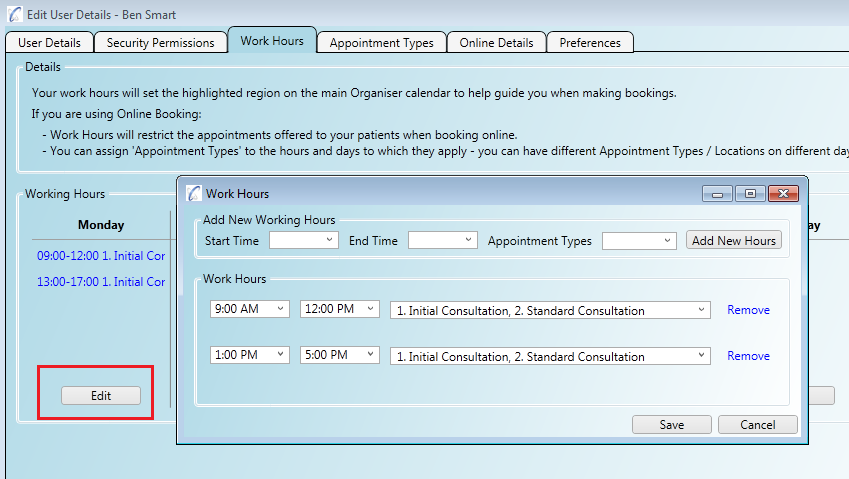
Step 3
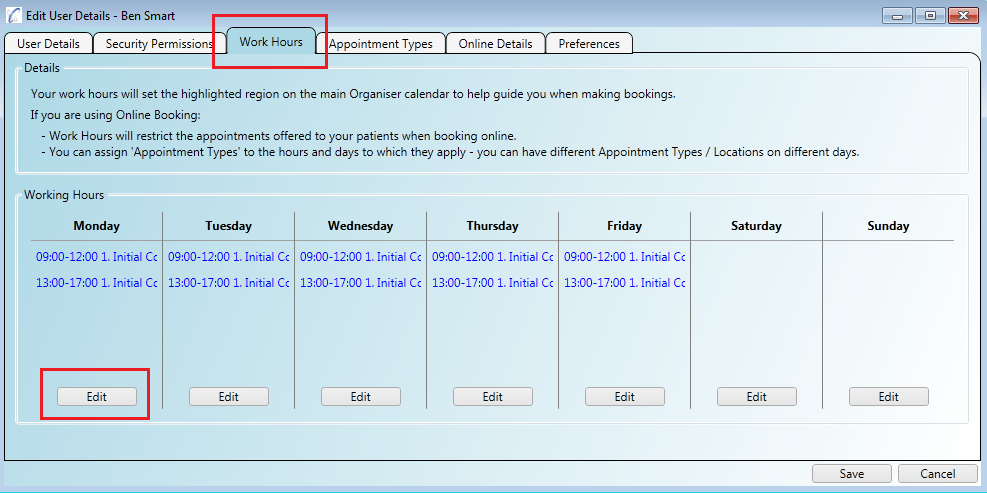
If you click on the 'Work Hours' tab you set your hours per day. Click the 'Edit' button to set your hours.
Step 4
When you enter your work hours you can also assign any 'Appointment Types' you want offered online during those hours. In this way you
can separate appointments for different locations on different days. You can also stagger appointment type start times to allow multiple
similtanous bookings.